
Podcast: Play in new window | Download (Duration: 19:00 — 43.5MB)
Subscribe: Apple Podcasts | RSS
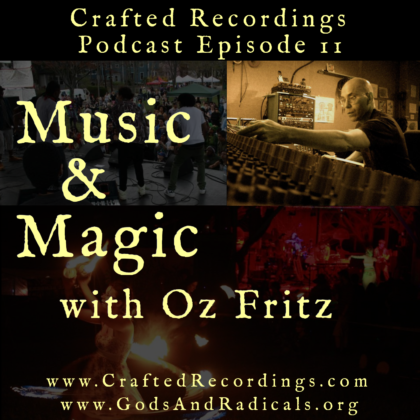
 In this episode, I spoke with recording engineer, music producer, and practitioner of Thelemic magic Oz Fritz. Oz has an extensive credit list in recording, having worked with Bill Laswell, Bernie Worrell, Tom Waits, Oysterhead, Primus, Hakim, Bey, and many, many others.
We spoke about creating space in magic & music, consciousness, brain change, quantum physics, and quite a bit about recording and mixing music and audio.
All the music heard in this episode was recorded & mixed by Oz, and performed by Bernie Worrell, used with permission. Songs include:
- Revelation in Black Light
from Blacktronic Science - X-Factor
from Blacktronic Science - In a Silent Way
from Elevation (The Upper Air) - Blood Secrets
from Blacktronic Science - Revelation in Black Light
from Blacktronic Science
Audio recording produced by James Lindenschmidt. ©2016 Crafted Recordings. Some Rights Reserved (CC BY-NC-SA 4.0).